Add and Remove Manu Items
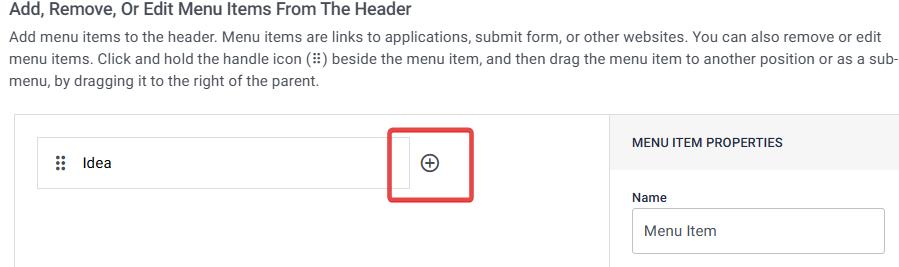
In this section let us see how we can add menu Items and add sub menu Items. By Default there will be a Menu Item named Idea, and to add a new Menu Item, we can click on the + Icon adjacent to the Menu Icon.
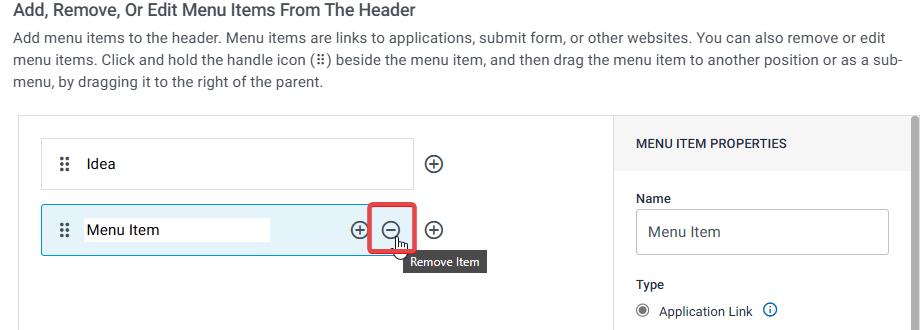
Similarly, Once a menu Item is added, we can also remove the same using the “-” Icon which is located adjacent to the + Add icon within the same field.
Adding and Removing Sub Menu Items:
A sub-menu, also known as a drop-down menu, is a secondary menu that is nested under a main menu item. It provides additional navigation options related to the main menu item. Sub-menus help organize complex or extensive content in a way that makes it easier for users to find what they are looking for without overwhelming them with too many choices at once.
To Add a Sub menu under a main menu item, one can click on the “+” Icon that appears within the same field, clicking this “+” icon will add a sub menu item under the main menu.
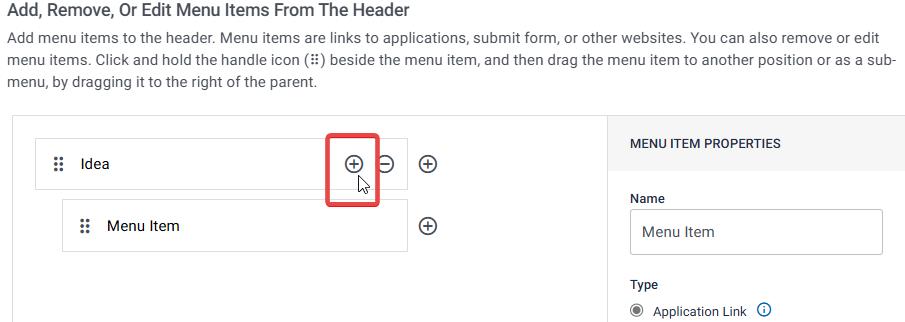
To remove the sub menu Item, one can click on the “-” Icon which appears on the main menu field and this will remove the sub menu item.
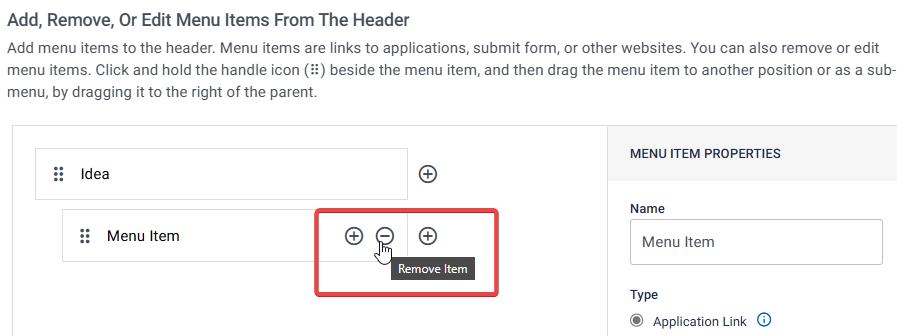
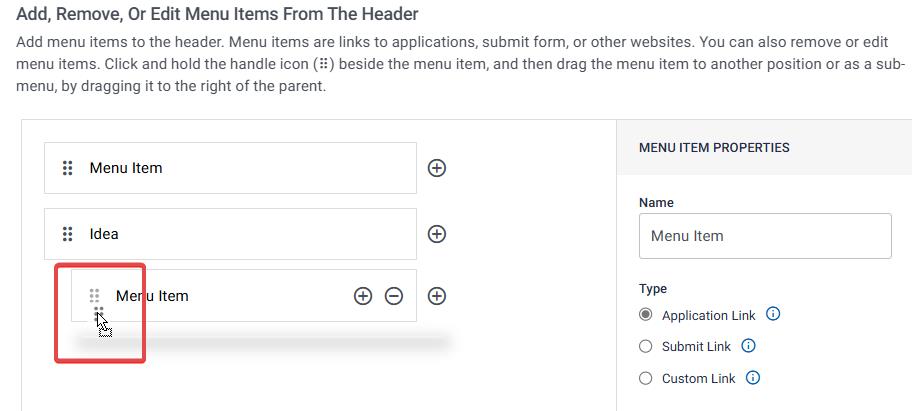
You can also remove or edit menu items by clicking and holding the handle icon (⠿) beside the menu item, then dragging the item to a new position or creating a sub-menu by dragging it to the right of the parent item.