Add
To create a new Role, follow these steps:
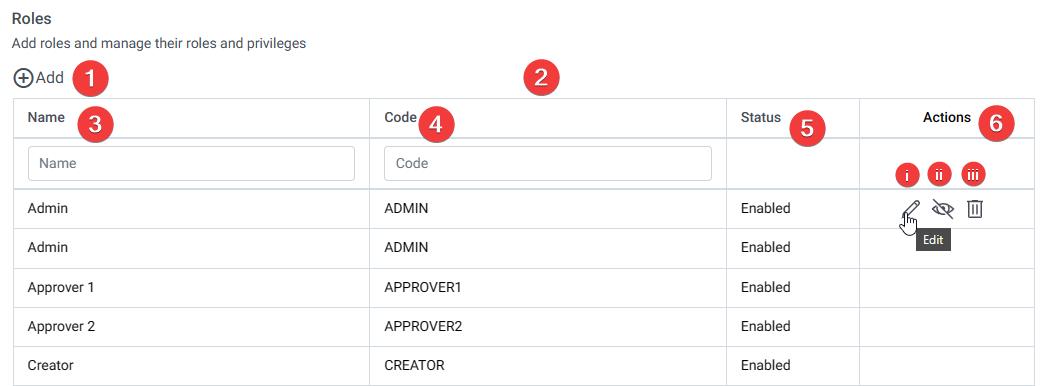
Navigate to the Role Panel on the user interface.
Look for the “+ Add” icon, typically located within the Role Panel. Clicking on this icon will initiate the Role creation process.
Once you click on the “+ Add” icon, a pop-up window will appear on the right-hand side of the page. This window will prompt you to provide the necessary details for the new Role.
In the pop-up window, you’ll be required to enter a title or name for the new Role. This title should represent the purpose or designation of the Role.
Additionally, you need to provide a corresponding code for the Role. This code may serve as a unique identifier for the Role within the system.
After entering the desired Role name and Code, review the information to ensure accuracy.
Finally, click on the “Add” button within the pop-up window to create the new Role.
Once you complete the Role creation process, the new Role will be added to the list of existing Roles within the Role Panel.